Home ON-LINE SHOP FUSION MINERAL PAINT How to prep your furniture!
How to prep your furniture!
Prep for success
Fusion has excellent adhesion, durability, and coverage, however, a little prep will ensure you have a successful painting experience that will last decades. Some pieces will require very little prep and others a little more. Choose your surface below and follow these simple prep steps to ensure your piece turns out perfectly!
Step 1
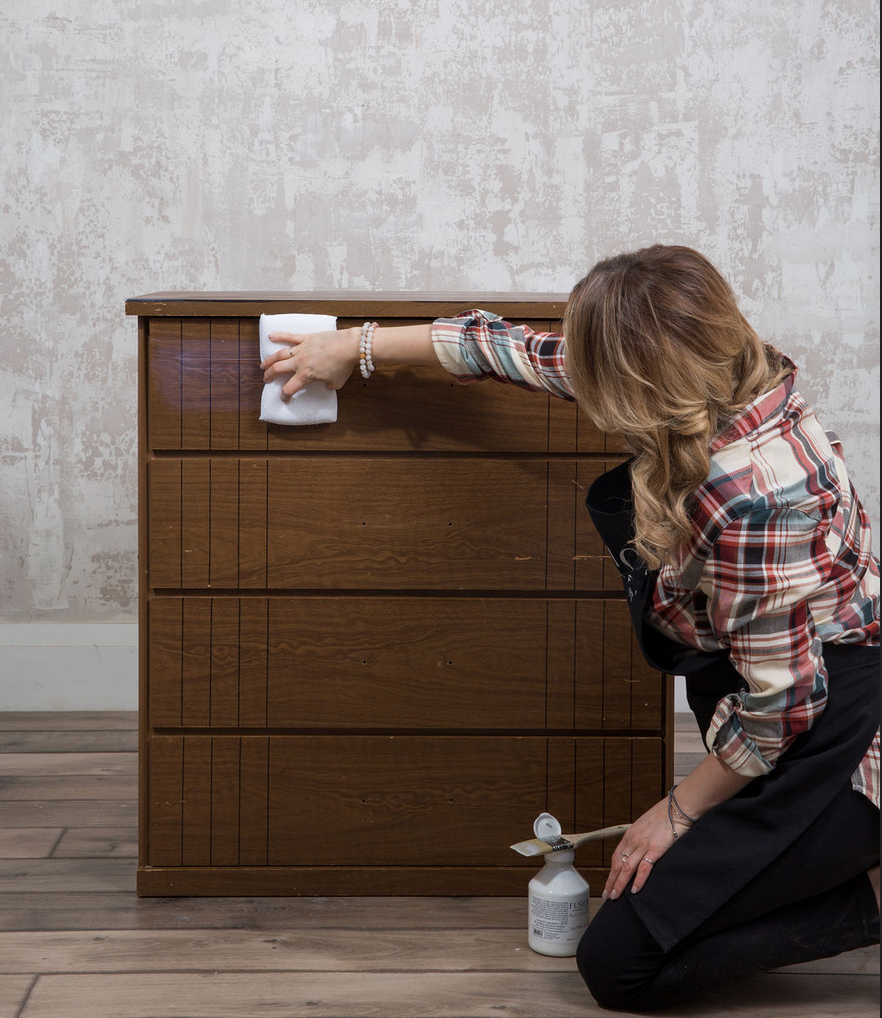
The first step is always cleaning. We recommend our TSP Alternative, it is a biodegradable zero VOC’s organic degreaser. Using a degreaser is important because it removes oil and grease that cause issues with the paint adhering well. Well, why would there be grease or oil on your furniture in the first place? Sometimes these greases and oils build up over years of handling and use and are quite normal. Sometimes furniture has been coated with cleaners or protective finishes. We just need to eliminate them for the best results. Always clean before you scuff sand ( if your project needs it ) as it stops you from grinding the dirt, oil, or grease further into the paint or wood fibers.
This step should take you a matter of 5 minutes for a piece of furniture.
TSP Alternative
Using TSP Alternative is simple! Dilute 2 capfuls of the solution into 1L of water and wash your piece thoroughly until your rag is clean. Throwing away the dirty water won’t harm our waterways as our formula is organic. This powerful degreaser can be used in a spray bottle for ease of application. Unlike true TSP, this one is eco -friendly not requiring gloves or a mask.
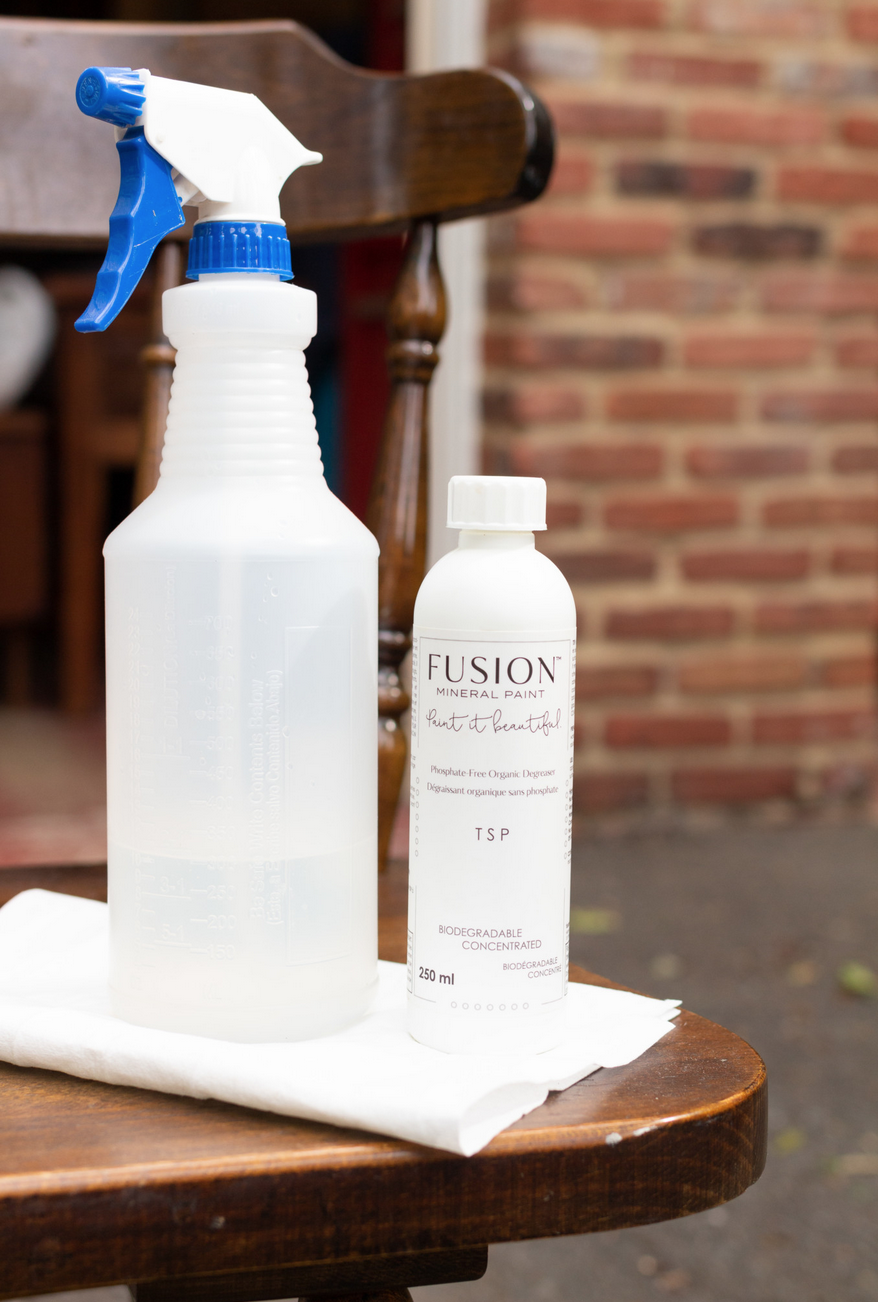
photo courtesy of Homestead House
Step 2
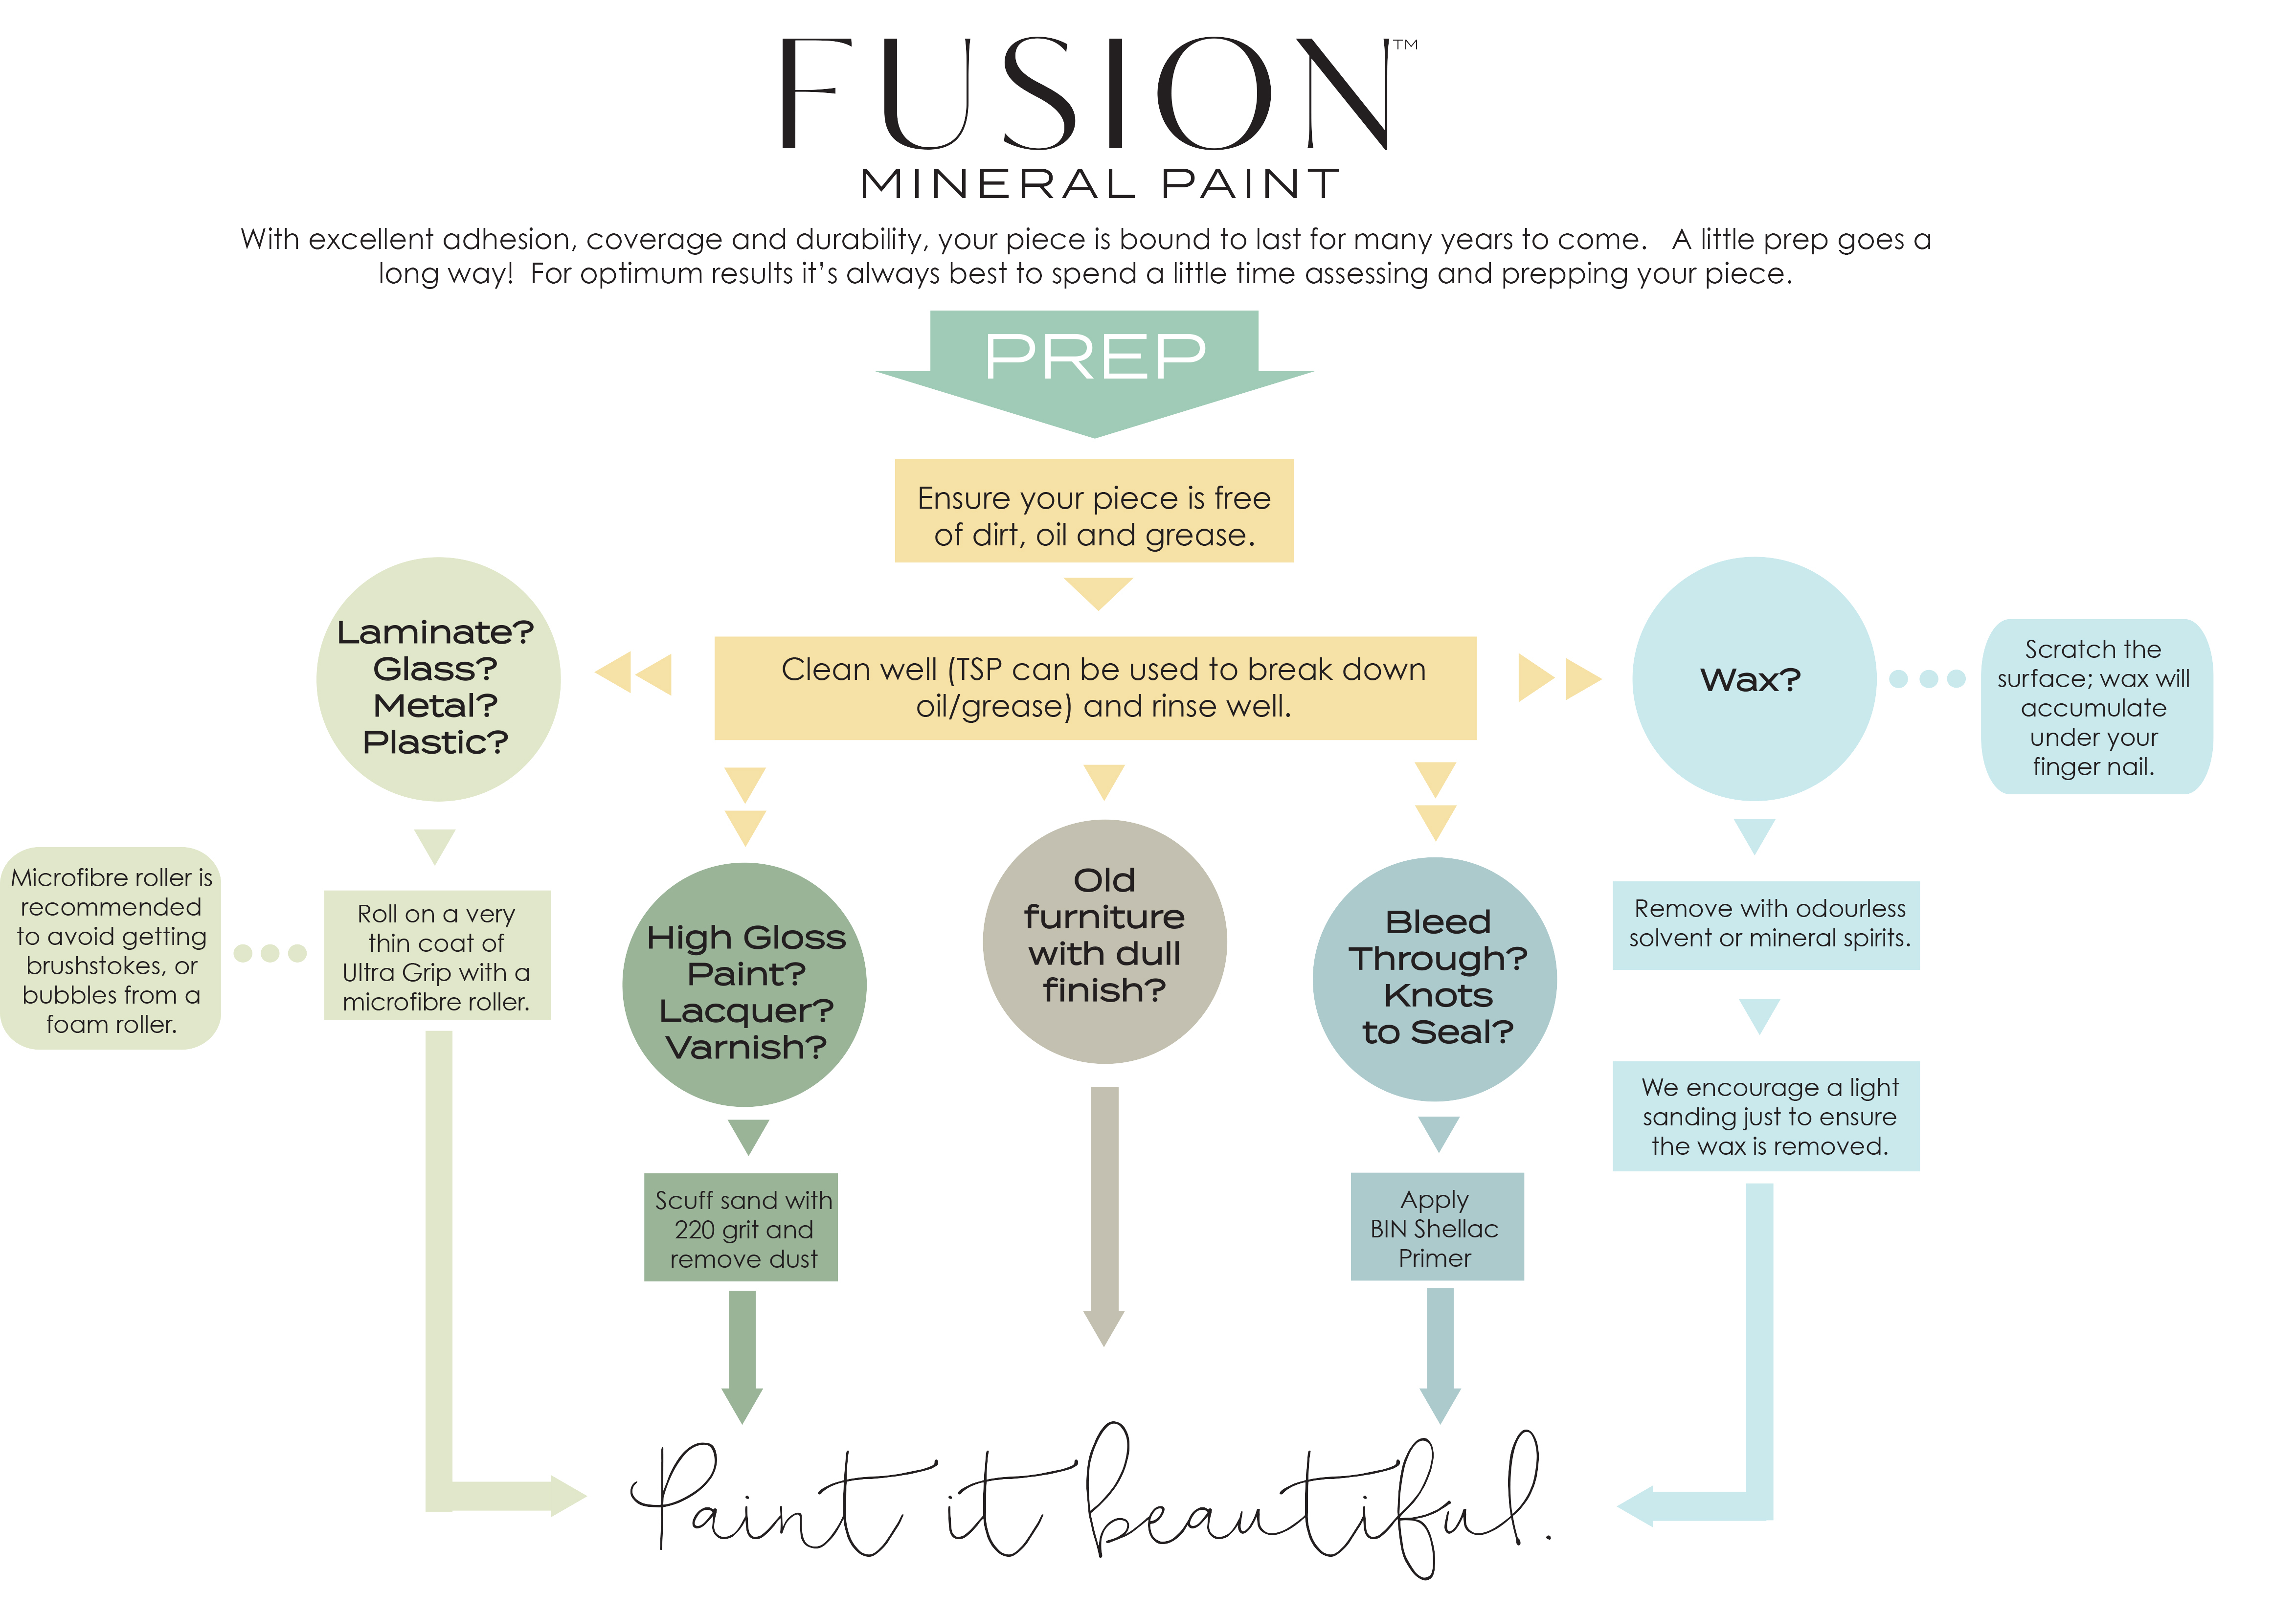
Choosing your surface is the next step. With so many different paintable surfaces, each one has a slightly different suggestion for prep.
1. Prep for High Gloss surface
For best adhesion, a high gloss surface such as lacquer should be lightly scuff sanded. Your aim is to dull the sheen, not remove the finish entirely. You do not need to sand back to bare wood. Use a 400 grit sanding pad or sponge-like it is a cloth and wipe it in the direction of the wood grain until you can see you have knocked back the sheen. This should only take 2-3 passes with a 400 grit sanding pad. Even a large dresser should take no more than 5 – 10 mins sanding lightly. You are creating a ‘tooth’ for the paint to adhere to. Once scuff sanded, remove any excess dust prior to painting.
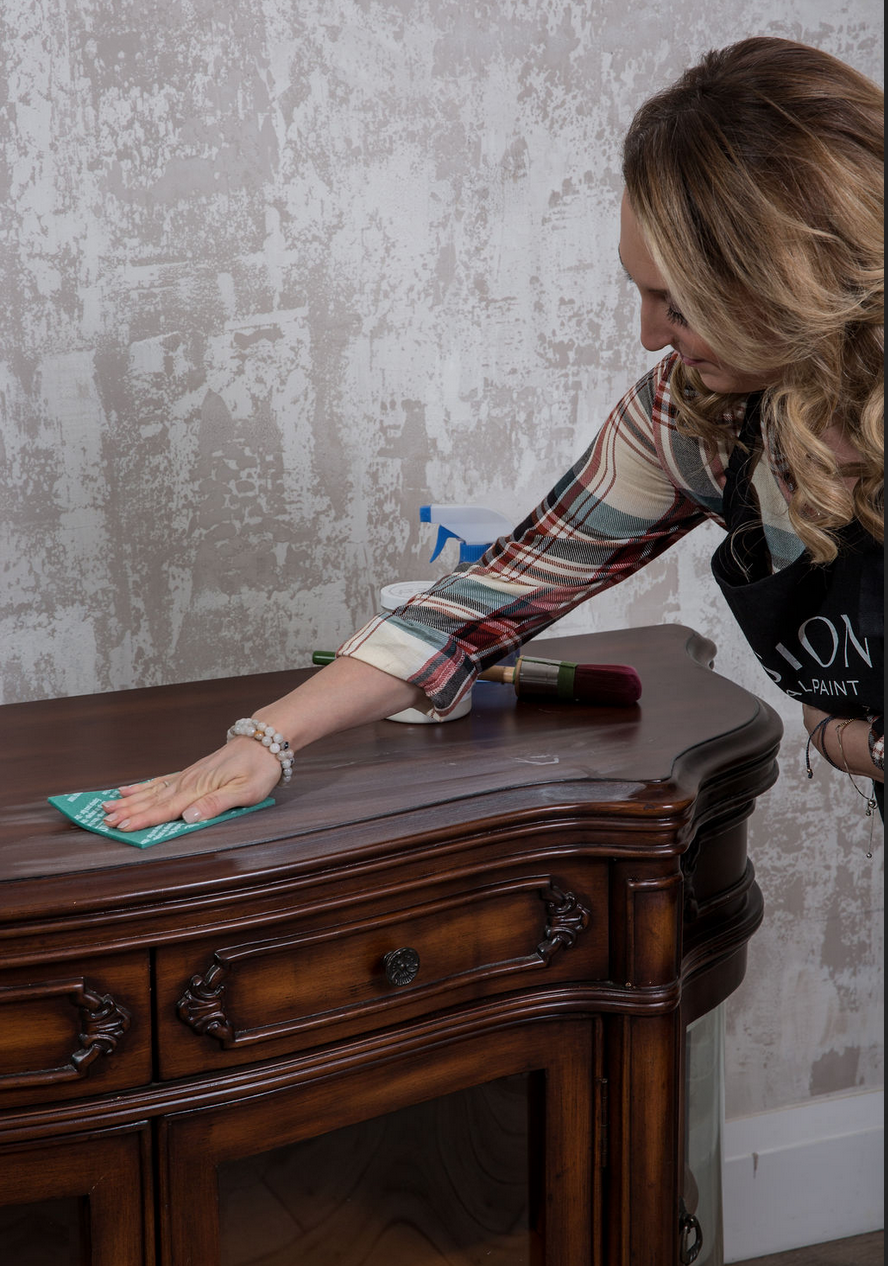
photo courtesy Homestead House
2. Prep for Removing wax, pledge, or sticky residue – prepping new metal for paint.
Nothing likes to adhere to wax, so if you have wax or even a polish such as ‘pledge’ on the surface of your piece you will need to remove it. Grab our odorless solvent, also known as mineral spirits, and a clean rag and give it a good wipe-over. Apply the mineral spirits with a rag and clean the surface until you can’t feel a waxy residue any longer. The mineral spirits breaks down the wax and silicon-based polishes, the cloth will remove it. If you have lots of wax from years of re-applying just substitute the cloth for some 000 steel wool. The other surface that would need a wipe down with mineral spirits is new metals. They often come from the factory with an oil coating on, the mineral spirits will remove that ready for painting.
3. Prep for Painting over old dull paint finishes
Almost all painted and previously finished surfaces can be painted over with a simple clean with TSP Alternative. After cleaning you want to assess the substrate to make sure there is no loose or peeling paint. If there is you would need to fix that by sanding or removing the old chipping paint, then apply the paint!
4. Prep for bleed through/knots
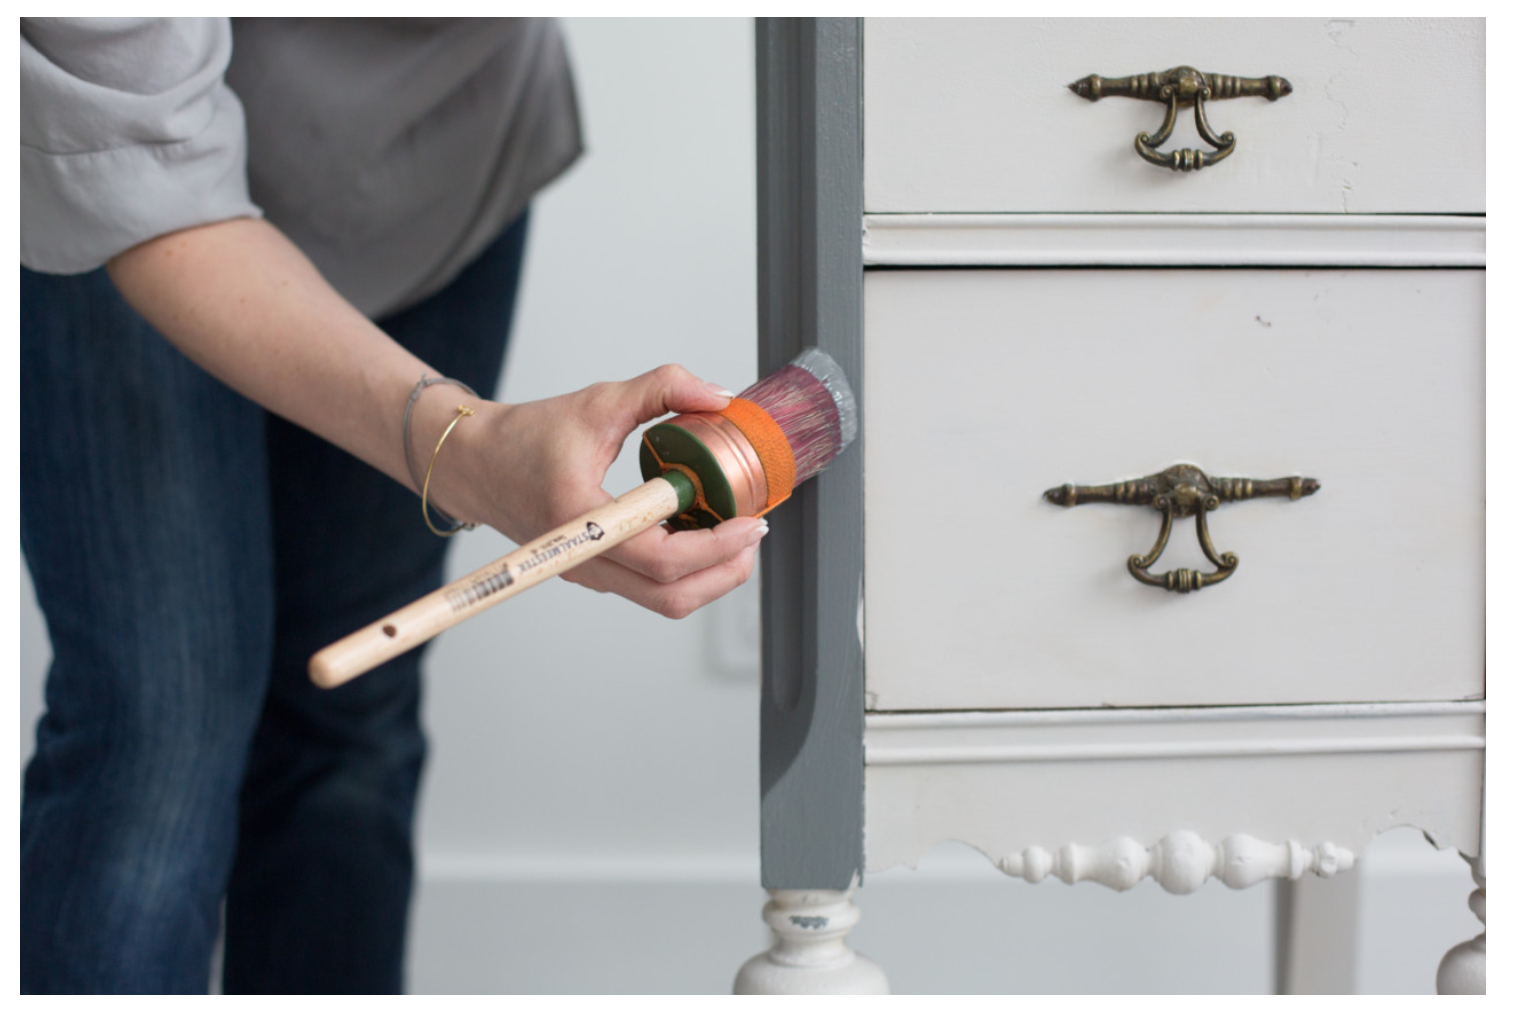
Certain woods like Cherry or Mahogany will bleed tannins or have knots like Pine or Oak. To stop this from happening, you must use a stain blocker to prevent them from coming through your paint finish if you are concerned about this. This is most noticeable on lighter paint colours. After cleaning your piece with TSP Alternative, you can seal tannin bleed through by applying one or two coats of Shellac.
5. Prep for Melamine, Laminate, and Thermafoil
Prepping these slick high gloss manufactured surfaces for paint can be tricky, however not impossible. Fusion has you covered! We have an adhesion primer for impossible-to-paint surfaces. Ultra Grip is our 100% acrylic resin-based adhesion primer. Be sure to remember your first step is always cleaning with TSP Alternative, apply 1 to 2 very thin coats of Ultra Grip with a roller or high-quality synthetic bristle brush, and leave to dry overnight or at least ( 12 hrs ) for best results. Allow a minimum of 2 hours between coats of Ultra Grip. The paint will now adhere to the surface with no problems.
How do you know if you need Ultra Grip?
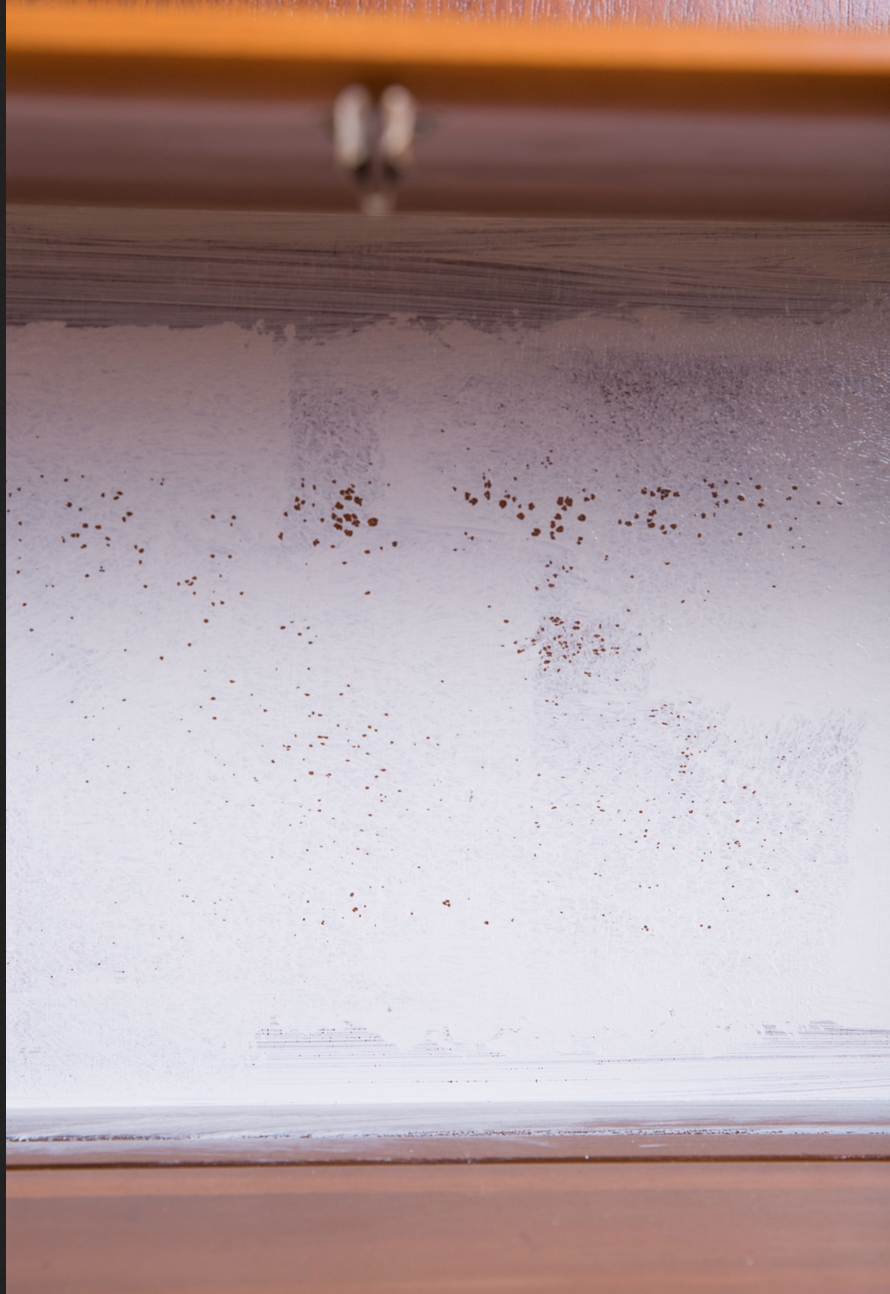
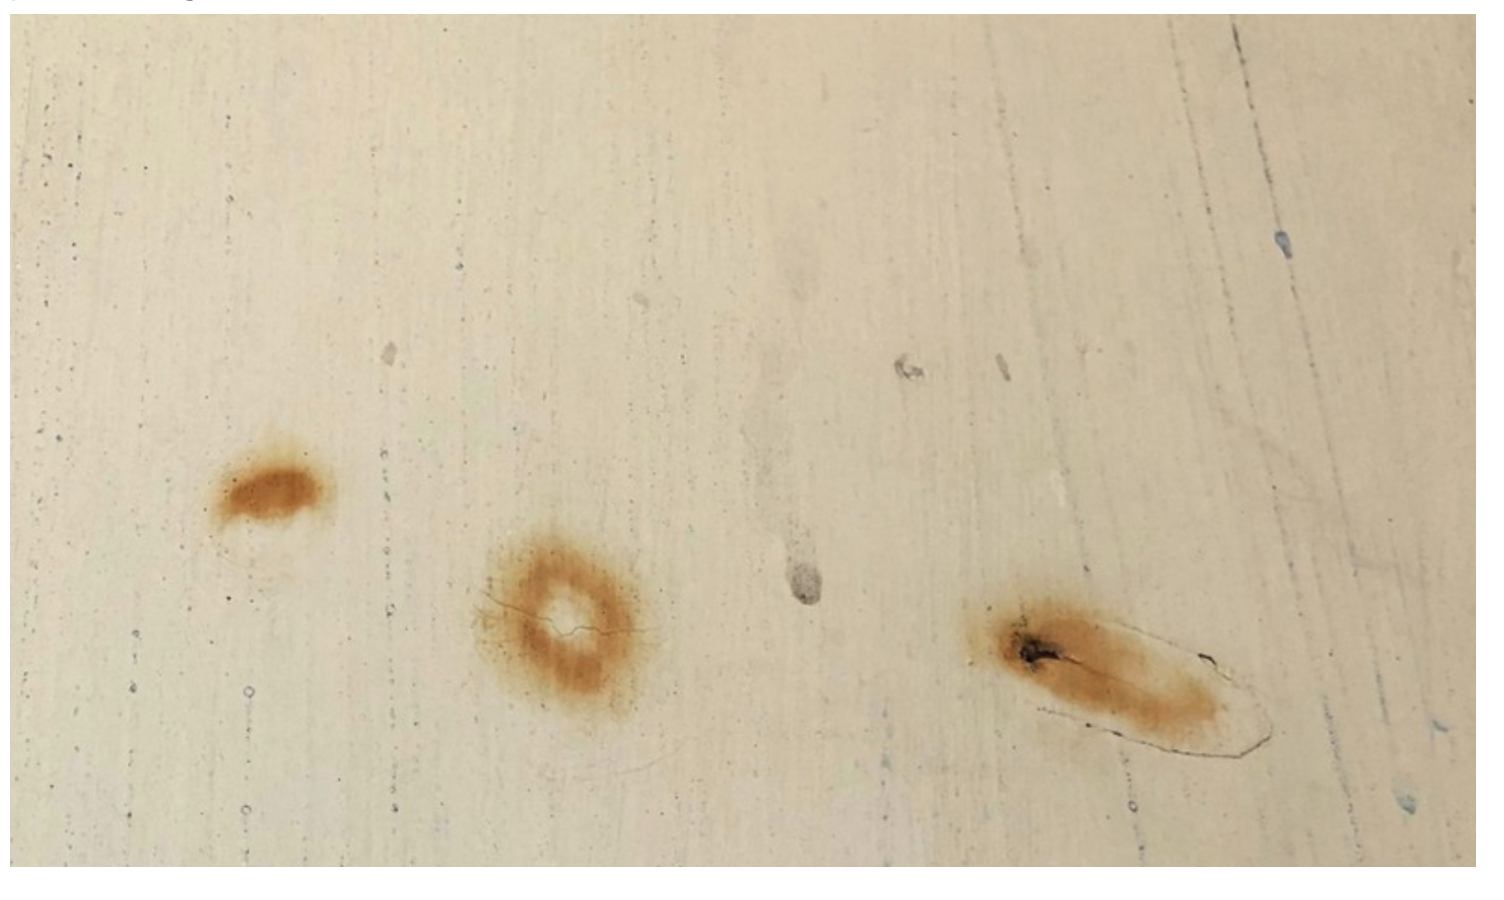
Do a test paint patch, if you see separation like this – we call it lacing, then there is something on the surface like a wax residue or factory coating like Teflon. Ensure you’ve cleaned your piece well with TSP Alternative, do your test patch and if it laces, apply 1-2 coats of Ultra Grip. The second coat of Ultra Grip should stop lacing and your paint will adhere beautifully.
Always ensure there is no wax if separation continues to persist, as nothing will adhere well to wax it must be removed.
Applying Ultra Grip with an applicator pad or a damp car sponge will ensure a smooth application. This product is slightly thicker and likes to hold texture so be sure to apply it smoothly.
And just like that, it’s easy to prep it beautifully for a gorgeous paint job!
By following these simple key steps you will ensure a perfect paint finish every time!


